I love placemats. And table runners. I just do. I think they make every meal special, and they add just the right amount of color to a room! Since it's getting warmer out, my husband and I are planning on taking picnics to the archery range at our local state park. So, I decided to make a cute, thin, and easy-to-pack set of picnic placemats.

They do not take very much fabric (use leftovers!) and can be made in about an hour. You could use them on a table, too! But, they are just perfect for packing away. Keep reading below for more details and a photo tutorial.
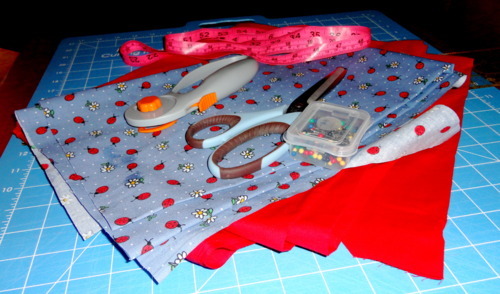
Here's what you'll need:
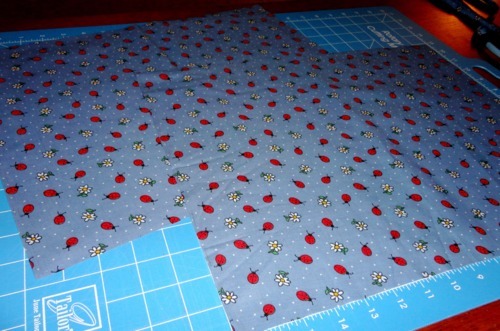
1. Cut two 13x17" pieces from the pattern fabric.
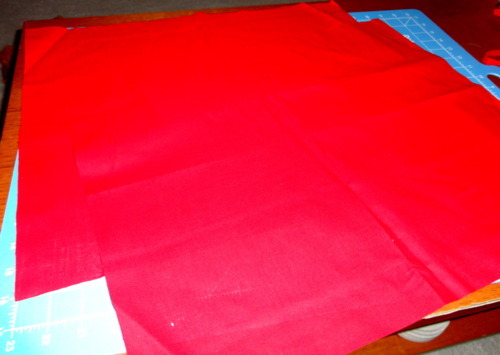
2. Cut two 17x21" pieces from the solid fabric.
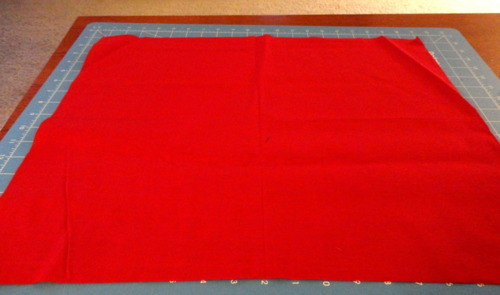
3. Lay one solid piece down on the table or mat...
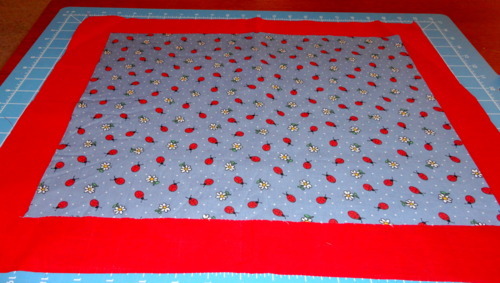
... and lay a pattern piece down on top (centered).
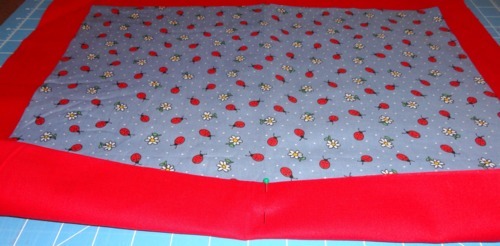
4. Starting in the center of one side, gently fold the excess solid fabric over the pattern fabric and pin. Be careful not to pull the fabric. Just gently fold it over - not rolling or folding the fabric piece.
5. Fold and pin the remainder of the side (you will only need 3 pins -- it does not need to be tight at this point).
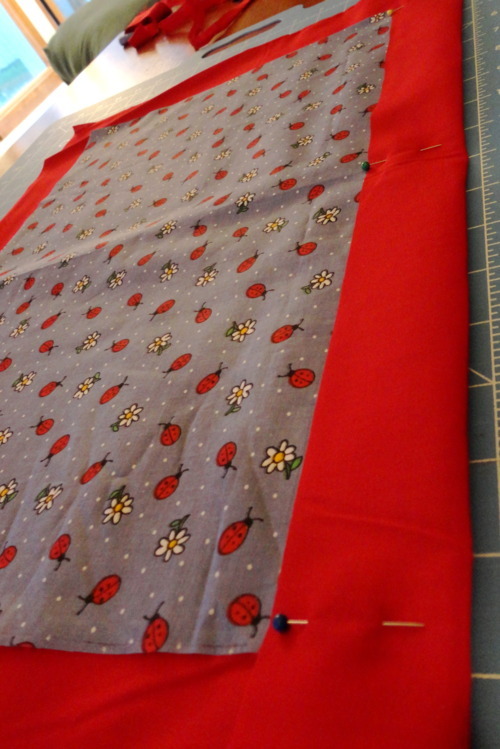
6. Repeat the method on another side...

... and the remaining sides. Remember, this does not have to look nice at this point. I also added 2 pins in the center of the mat just to keep everything in place.
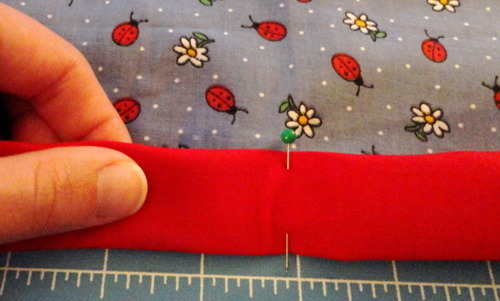
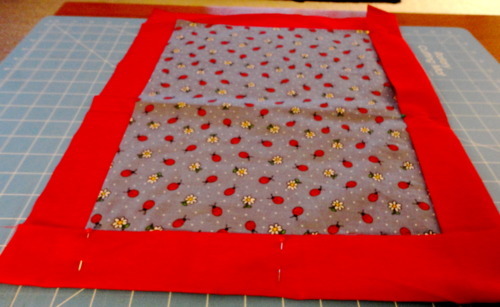
7. Starting in the middle of one side, remove the pin and gently fold the solid fabric under itself and re-pin. This should create a 1" border of solid fabric.
8. Work your way out towards the edges of that side folding and pinning along the way. You will want the pins to be more secure this time (I used 6-7 pins per side). Repeat with the other sides.
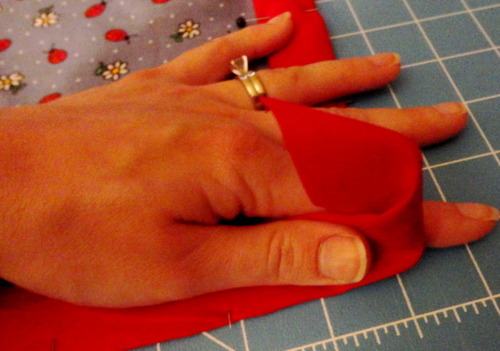
9. After pinning the sides, now you will do the corners. Pinch the excess corner fabric together with your thumb and finger...
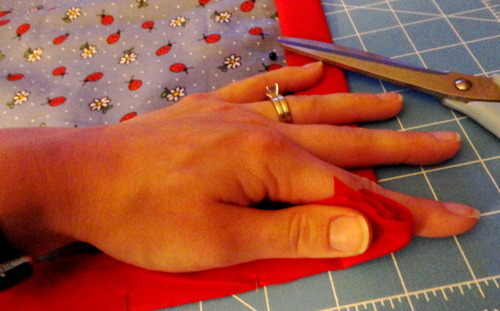
... and cut off some of the excess fabric with scissors (leave about 1/2" above your fingers).
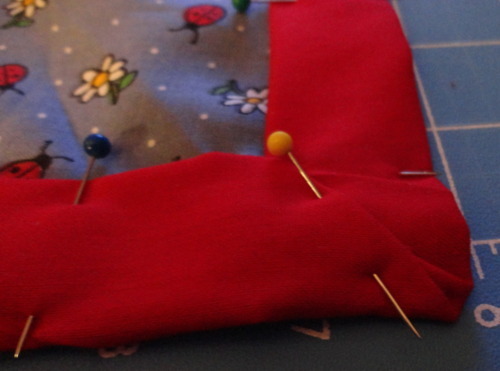
10. Then, fold the corner until it looks nice and pin. You want it to look kind of like the corner fold of a blanket.

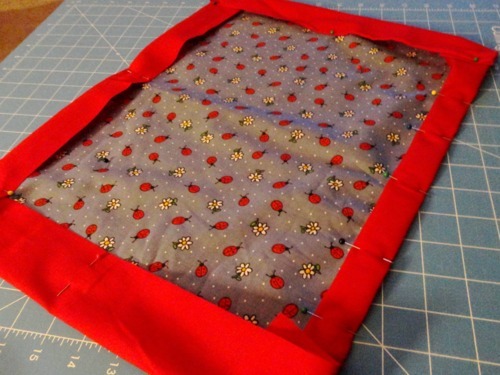
11. Repeat with the other 3 corners until the whole mat is pinned with a 1" solid border all the way around. Repeat with the second placemat.
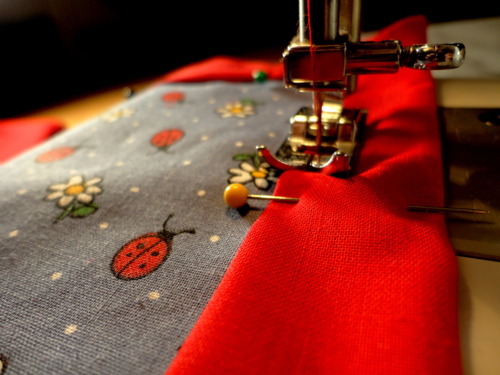
12. Using matching thread (I used red), sew all the way around the border using an 1/8" seam allowance. Make sure to backstitch at the beginning and end.
When you reach a corner, carefully remove the corner pin and turn the corner. Do not sew the corner seams yet.
Make sure you have your trusty guard dog watching over your sewing at all times. :)
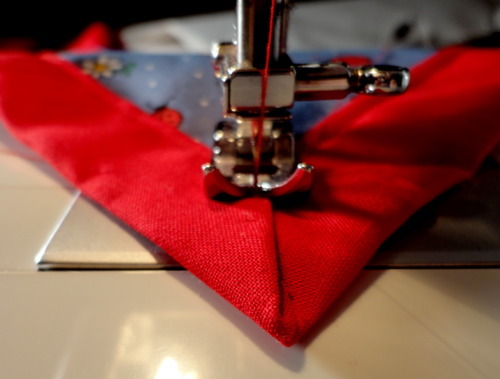
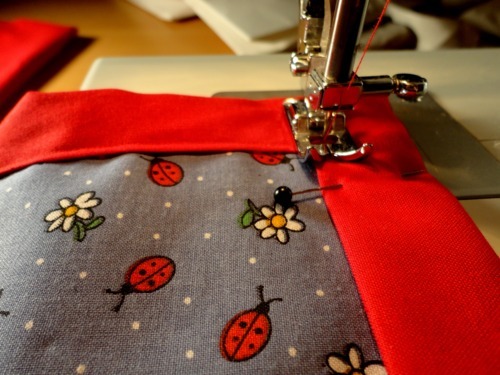
13. After you have sewed all around the border, go back to sew the corners. Starting on the inside, sew straight down the folded seam (backstitching at the start and end).
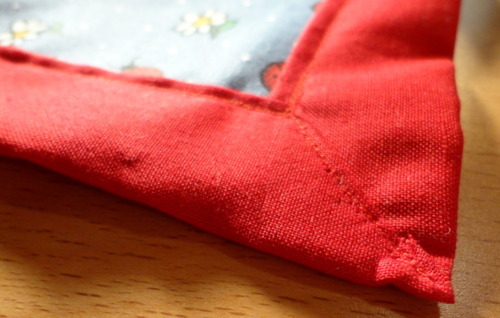
Here is what it will look like. You're done!
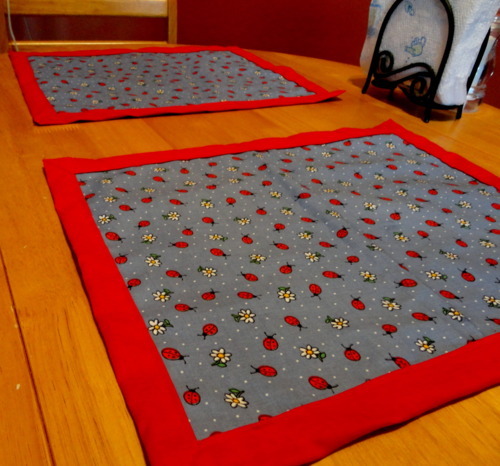
Use on your table if you want...

... or pack away in your picnic basket like me! Have fun!
They do not take very much fabric (use leftovers!) and can be made in about an hour. You could use them on a table, too! But, they are just perfect for packing away. Keep reading below for more details and a photo tutorial.
Here's what you'll need:
- "Picnic theme" pattern fabric (less than half a yard)
- Matching solid fabric (less than half a yard)
- Thread to match solid fabric
- Scissors
- Pins
- Rotary cutter
- Mat and rulers
1. Cut two 13x17" pieces from the pattern fabric.
2. Cut two 17x21" pieces from the solid fabric.
3. Lay one solid piece down on the table or mat...
... and lay a pattern piece down on top (centered).
4. Starting in the center of one side, gently fold the excess solid fabric over the pattern fabric and pin. Be careful not to pull the fabric. Just gently fold it over - not rolling or folding the fabric piece.
5. Fold and pin the remainder of the side (you will only need 3 pins -- it does not need to be tight at this point).
6. Repeat the method on another side...
... and the remaining sides. Remember, this does not have to look nice at this point. I also added 2 pins in the center of the mat just to keep everything in place.
7. Starting in the middle of one side, remove the pin and gently fold the solid fabric under itself and re-pin. This should create a 1" border of solid fabric.
8. Work your way out towards the edges of that side folding and pinning along the way. You will want the pins to be more secure this time (I used 6-7 pins per side). Repeat with the other sides.
9. After pinning the sides, now you will do the corners. Pinch the excess corner fabric together with your thumb and finger...
... and cut off some of the excess fabric with scissors (leave about 1/2" above your fingers).
10. Then, fold the corner until it looks nice and pin. You want it to look kind of like the corner fold of a blanket.
11. Repeat with the other 3 corners until the whole mat is pinned with a 1" solid border all the way around. Repeat with the second placemat.
12. Using matching thread (I used red), sew all the way around the border using an 1/8" seam allowance. Make sure to backstitch at the beginning and end.
When you reach a corner, carefully remove the corner pin and turn the corner. Do not sew the corner seams yet.
Make sure you have your trusty guard dog watching over your sewing at all times. :)
13. After you have sewed all around the border, go back to sew the corners. Starting on the inside, sew straight down the folded seam (backstitching at the start and end).
Here is what it will look like. You're done!
Use on your table if you want...
... or pack away in your picnic basket like me! Have fun!
No comments:
Post a Comment
Thanks for stopping by!