I love flannel. It's soft, affordable, and versatile. Everytime I go to Joann Fabric, I come home with an armful of patterned and solid flannel. I'm always looking for new ways to use flannel - and I love this blanket! It's perfect for a baby shower gift or for a special little girl/boy in your life. AND it's sooooo soft (and easy!)
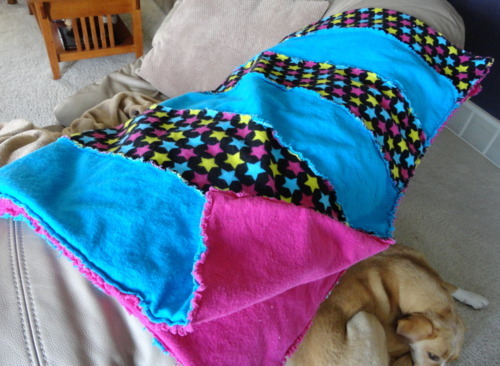
Keep reading below for all the details and a photo tutorial. (Thanks for the inspiration Oly Momma!)
You'll need a total of 2 yards of flannel:
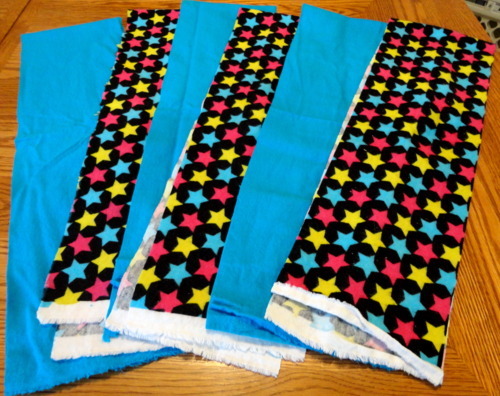 1. Cut your top flannel fabrics into six 6-inch strips. If you're using two fabrics, you will have 3 strips of each. If you are using three fabrics, you will have 2 strips of each.
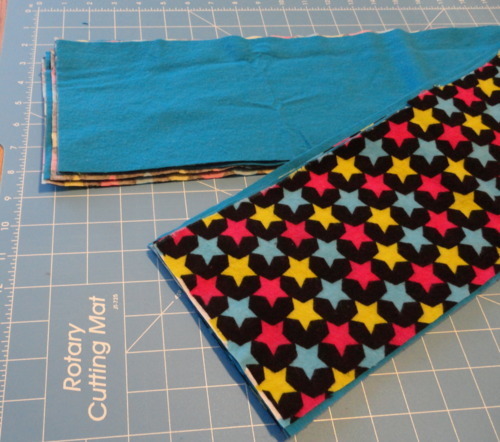
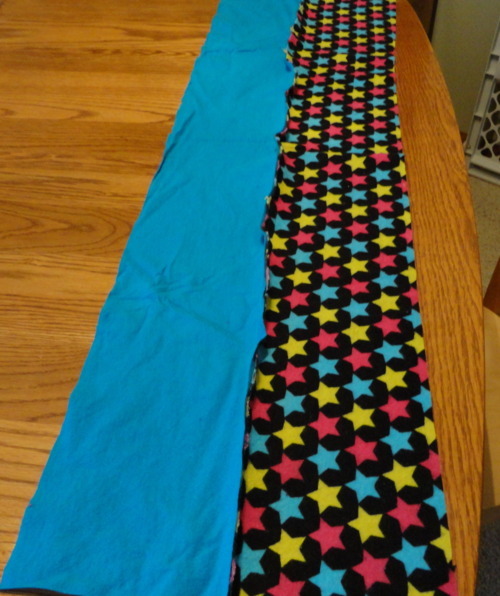
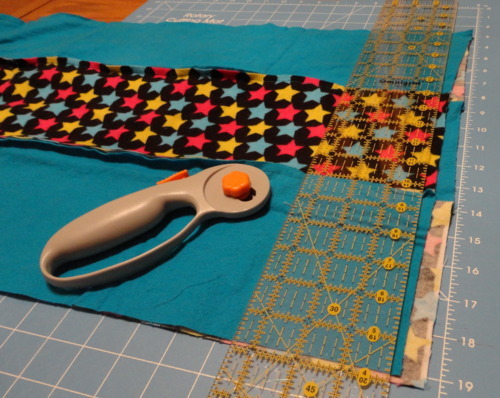
2. Stack your strips on top of each other...
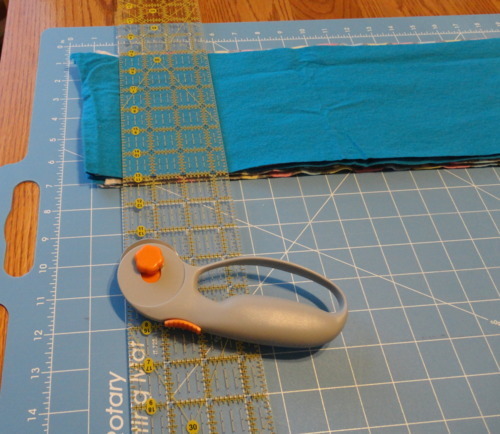
... and cut both of the ends straight (taking off the selvedge -- the unfinished part of the fabric).
3. Now that your edges are nice and straight, lay out your strips in the pattern you want for the top of the blanket (sorry, no picture of that step!)
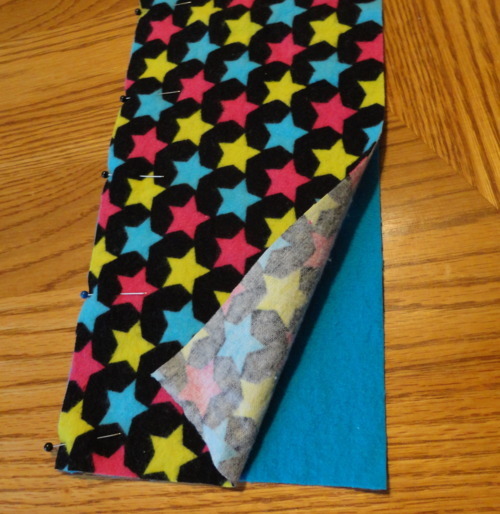
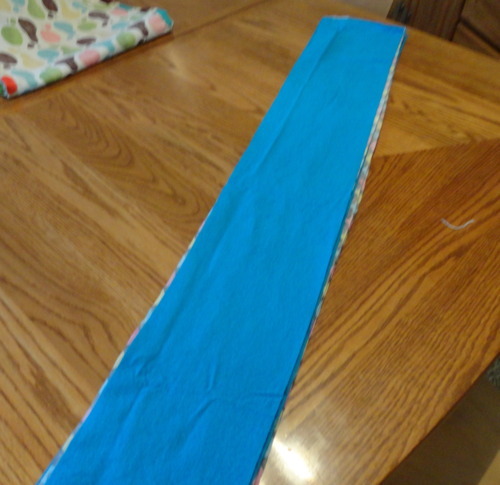
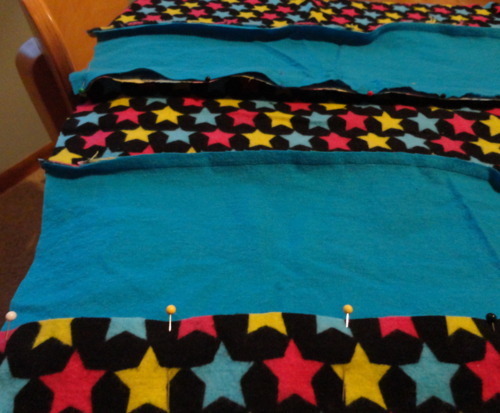
4. Lay the fabrics in PAIRS -- WRONG-SIDE TOGETHER! (This is opposite of how we usually sew. Constantly remind yourself, for this blanket, all sewing is done with the right sides out!) Pin the fabric on one long side only.
You will end up with three pairs of fabric -- pinned together on one of the long sides.
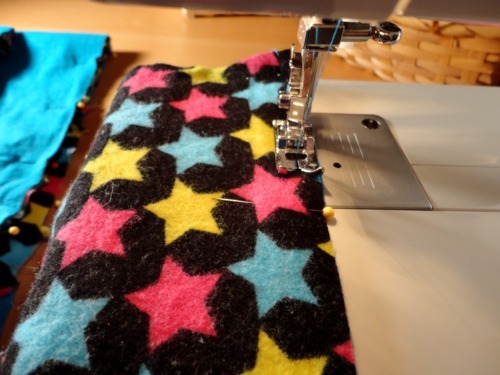
5. Sew down the pinned side of each fabric pair using a 1/4" seam allowance (the edge of the presser foot), making sure to back-stitch at the beginning and end. I used a thread matching the solid color (blue).
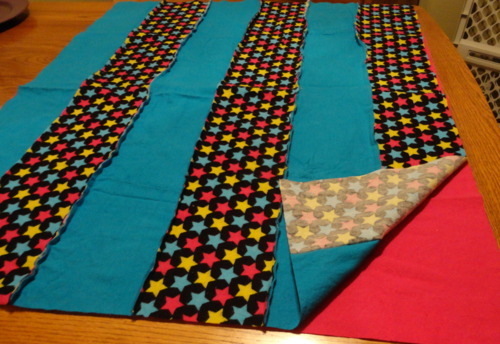
6. Lay your pairs of fabric out (the seams should be sticking up on top)...
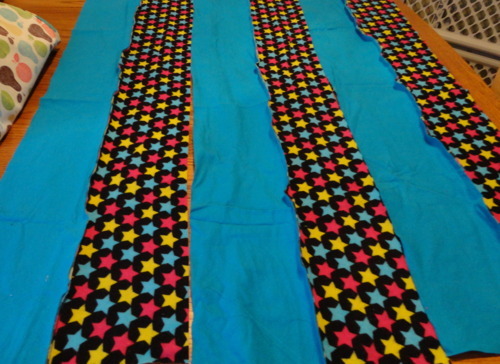
... and arrange them how you want them to look.

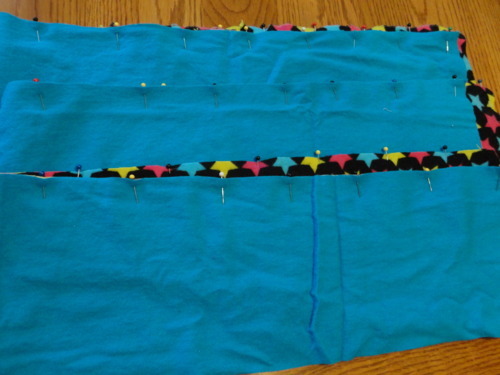
7. Pin the three pairs together to create the top of the blanket (WRONG SIDES TOGETHER!)
8. Sew the pieces together using 1/4" seam allowance. Make sure the right sides are facing out!
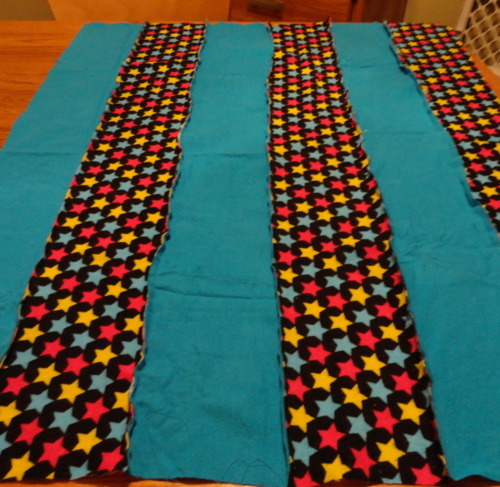
You should now have the top sewed together (seams sticking up).
9. If needed, trim up your ends again so they are nice and straight.
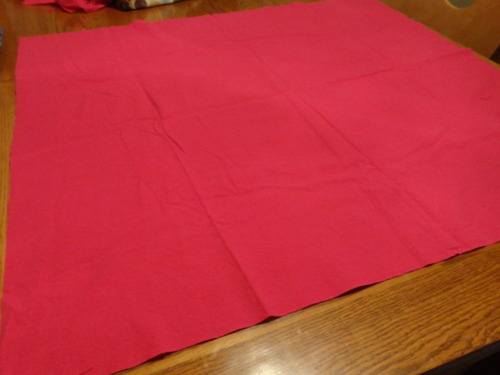
10. Measure your blanket top and cut the back fabric to match (mine ended up about 32"x39").
11. Lay your finished blanket top on top of the back pieces (right side up!)...

... and pin in place. Sew all the way around the blanket using 1/4" seam allowance.
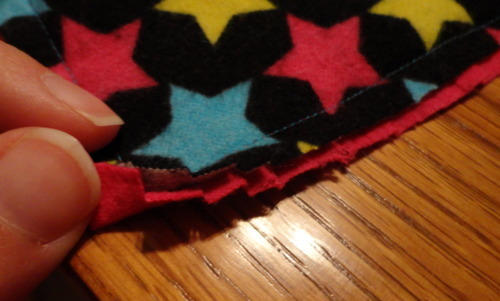
12. To make the edges "raggedy," you need to snip the outside of ALL the seams with scissors -- about every 1/4" . I usually do this little task in front of the t.v. Be VERY careful not to accidentally snip any of the stitching! Make sure you snip all the way around the outside of the blanket and and across the middle seams, too.

13. Wash and dry your blanket (no soap needed) to bring out its "raggediness" (pretty sure I just made up that word!) The more the blanket is washed, the more it will "fray." This blanket is for a very special little 3-year-old girl I know... so I'm sure it will be washed frequently!
This blanket is *extra* cute as a gift -- just roll it up and secure with a ribbon.
Keep reading below for all the details and a photo tutorial. (Thanks for the inspiration Oly Momma!)
You'll need a total of 2 yards of flannel:
- 1 yard of solid-color flannel (I used pink)
- 1 total yard of flannel for the top (I used 1/2 yard of 2 different fabrics. You could also use 1/3 yard of 3 different fabrics.)
Now, you're ready to start!
2. Stack your strips on top of each other...
... and cut both of the ends straight (taking off the selvedge -- the unfinished part of the fabric).
3. Now that your edges are nice and straight, lay out your strips in the pattern you want for the top of the blanket (sorry, no picture of that step!)
4. Lay the fabrics in PAIRS -- WRONG-SIDE TOGETHER! (This is opposite of how we usually sew. Constantly remind yourself, for this blanket, all sewing is done with the right sides out!) Pin the fabric on one long side only.
You will end up with three pairs of fabric -- pinned together on one of the long sides.
5. Sew down the pinned side of each fabric pair using a 1/4" seam allowance (the edge of the presser foot), making sure to back-stitch at the beginning and end. I used a thread matching the solid color (blue).
6. Lay your pairs of fabric out (the seams should be sticking up on top)...
... and arrange them how you want them to look.
7. Pin the three pairs together to create the top of the blanket (WRONG SIDES TOGETHER!)
8. Sew the pieces together using 1/4" seam allowance. Make sure the right sides are facing out!
You should now have the top sewed together (seams sticking up).
9. If needed, trim up your ends again so they are nice and straight.
10. Measure your blanket top and cut the back fabric to match (mine ended up about 32"x39").
11. Lay your finished blanket top on top of the back pieces (right side up!)...
... and pin in place. Sew all the way around the blanket using 1/4" seam allowance.
12. To make the edges "raggedy," you need to snip the outside of ALL the seams with scissors -- about every 1/4" . I usually do this little task in front of the t.v. Be VERY careful not to accidentally snip any of the stitching! Make sure you snip all the way around the outside of the blanket and and across the middle seams, too.
13. Wash and dry your blanket (no soap needed) to bring out its "raggediness" (pretty sure I just made up that word!) The more the blanket is washed, the more it will "fray." This blanket is for a very special little 3-year-old girl I know... so I'm sure it will be washed frequently!
This blanket is *extra* cute as a gift -- just roll it up and secure with a ribbon.
No comments:
Post a Comment
Thanks for stopping by!