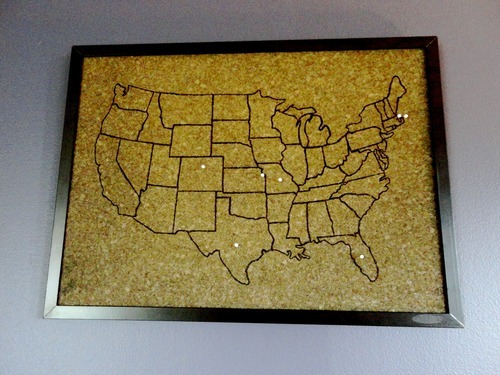
When I saw this idea at C.R.A.F.T. - I knew I had to have one! I love to travel and I thought this would be a perfect way for Tyson and I to mark where we have been together. Mine is a little simpler, but I love it just as much. I've already made two more as gifts... so make one today!
Keep reading below for a photo tutorial.
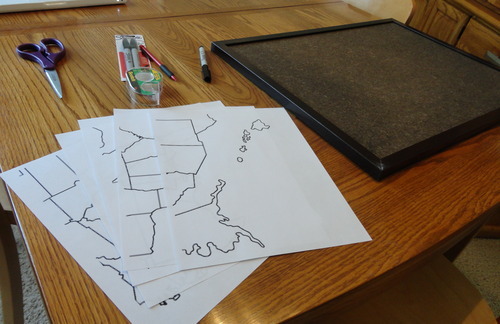
Here's what you'll need:
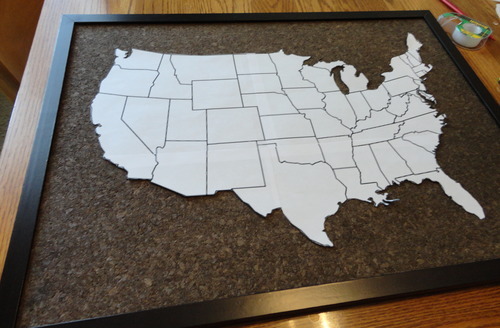
1. Carefully cut out all your map pieces. Use scotch tape to tape it together. Place in the middle of your corkboard and secure with a few pieces of rolled tape underneath.
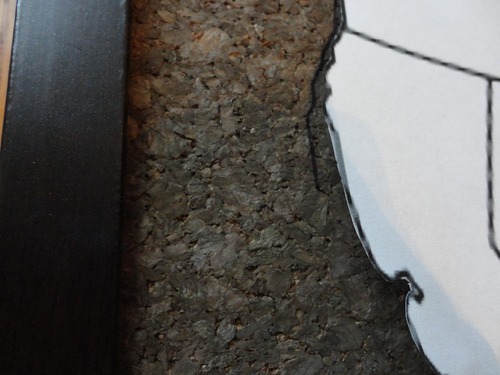
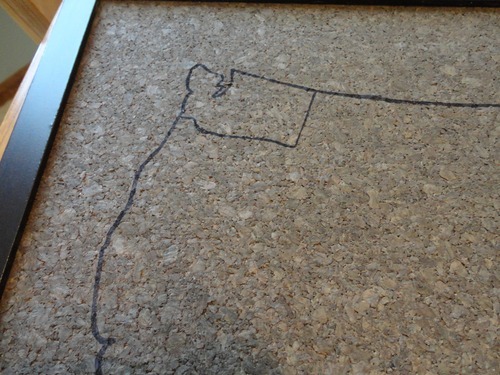
2. Using your thin-tipped Sharpie, carefully trace around the whole map.
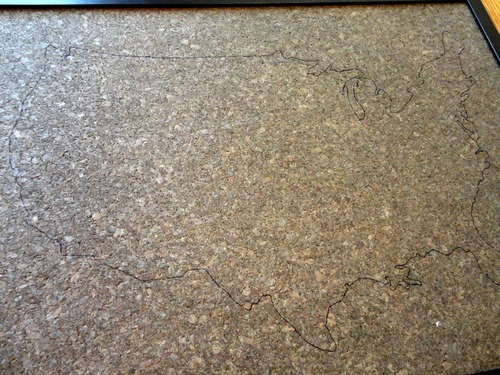
You'll end up with a thin outline, so...
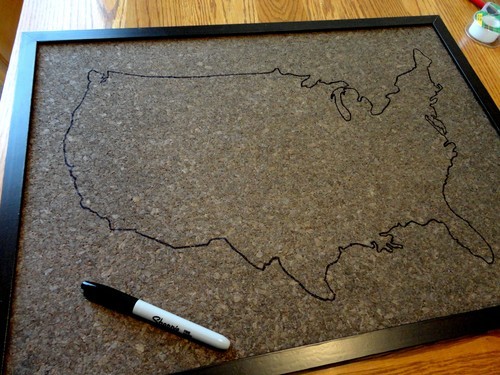
... go over all of your outline with the thicker Sharpie to make a nice clean line.
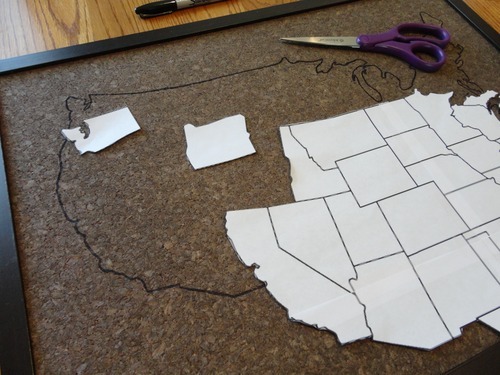
3. Take your map and carefully start cutting apart the states -- a couple at a time. I started in the NW corner.
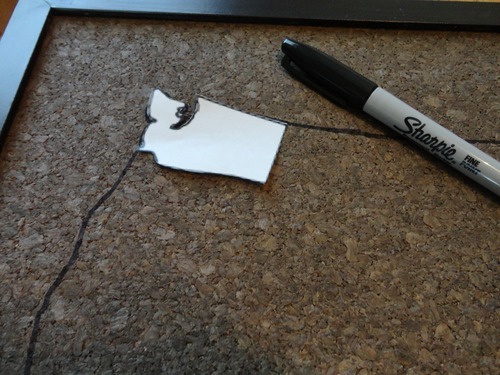
4. Line up the state with your outline...
... and trace the states one at a time.
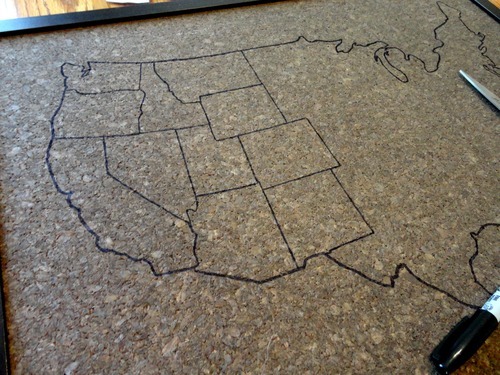
5. Keep moving across the map tracing one state at a time. Be very careful to line up the states that should have "straight lines."
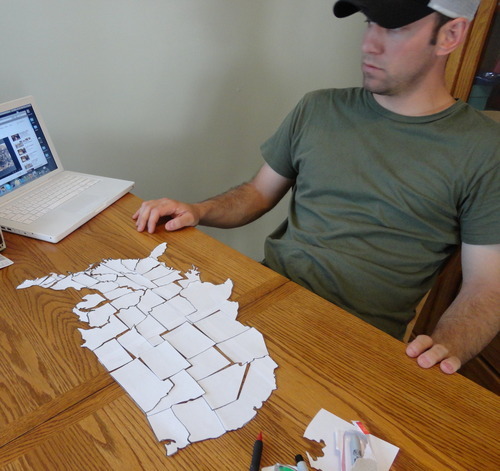
[If your husband is like mine, he will be putting your states back together as you go.]
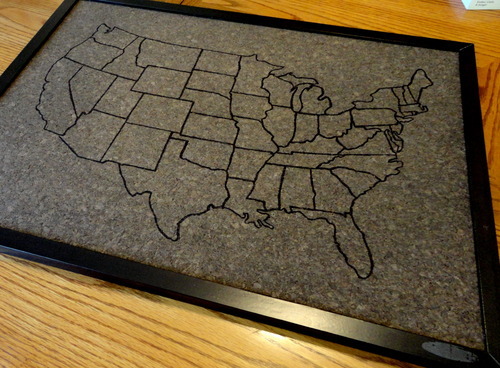
6. Go over all the lines with the regular-tipped Sharpie for nice clean lines...

... hang it up and add your pins! You could even do two colors of pins -- one for places you've been and one for places you want to go.
Keep reading below for a photo tutorial.
Here's what you'll need:
- Corkboard (mine was $5 at Target)
- Scotch tape
- Scissors
- Sharpies -- one thin and one regular
- Map of U.S. (or the world) -- blown up to fill up most ofyour corkboard. If you want to use the one I did, go to this site and when you print the map, print it at 350% scale. It will print on many different pages. Otherwise, play around with another map until you get the size you want!
1. Carefully cut out all your map pieces. Use scotch tape to tape it together. Place in the middle of your corkboard and secure with a few pieces of rolled tape underneath.
2. Using your thin-tipped Sharpie, carefully trace around the whole map.
You'll end up with a thin outline, so...
... go over all of your outline with the thicker Sharpie to make a nice clean line.
3. Take your map and carefully start cutting apart the states -- a couple at a time. I started in the NW corner.
4. Line up the state with your outline...
... and trace the states one at a time.
5. Keep moving across the map tracing one state at a time. Be very careful to line up the states that should have "straight lines."
[If your husband is like mine, he will be putting your states back together as you go.]
6. Go over all the lines with the regular-tipped Sharpie for nice clean lines...
... hang it up and add your pins! You could even do two colors of pins -- one for places you've been and one for places you want to go.
No comments:
Post a Comment
Thanks for stopping by!