I love letters -- I'm a kindergarten teacher! And, I've always looked longingly at all the cute decor letters sold in stores. So, today, I decided to make some myself... and they turned out great! WIth only 3 materials needed!
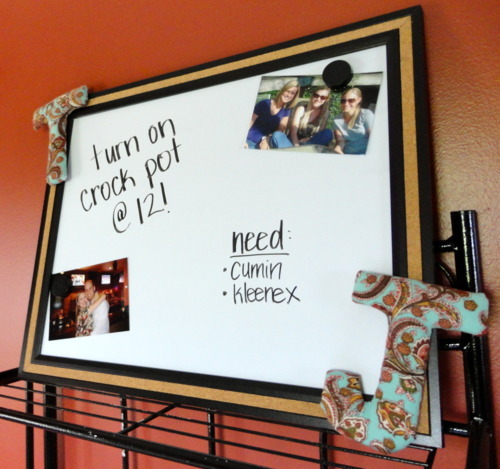
I knew exactly what I'd use them for, too -- to personalize a whiteboard for our kitchen.
Keep reading below for a photo tutorial. (Thanks for the inspiration A Girl and a Glue Gun!)
You will need:
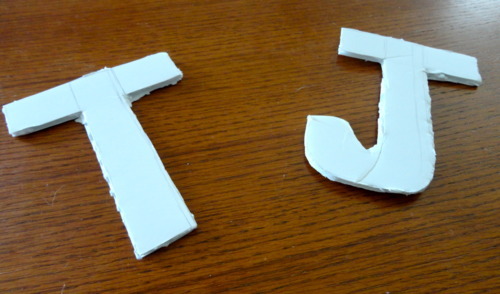
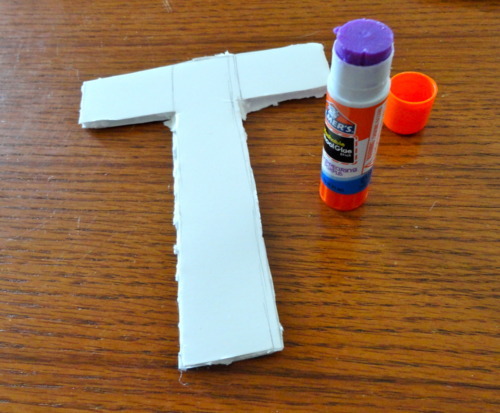
1. Using a knife and mat, cut out your letters from the foam board. I decided to do Tyson and my initials, but you could do as many letters as you want! I simply free-handed the letters with pencil, but you could also print out letters and trace.
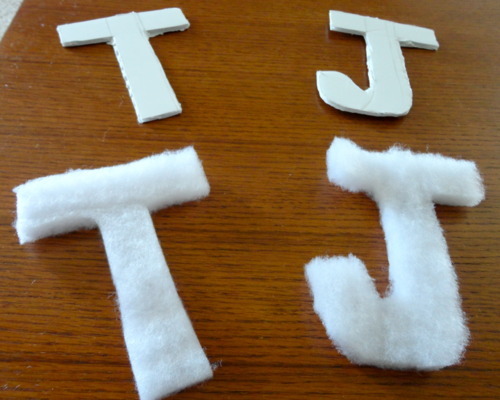
2. Holding the foam letters on top of the batting, cut out matching letter shapes.
3. Using a glue stick...
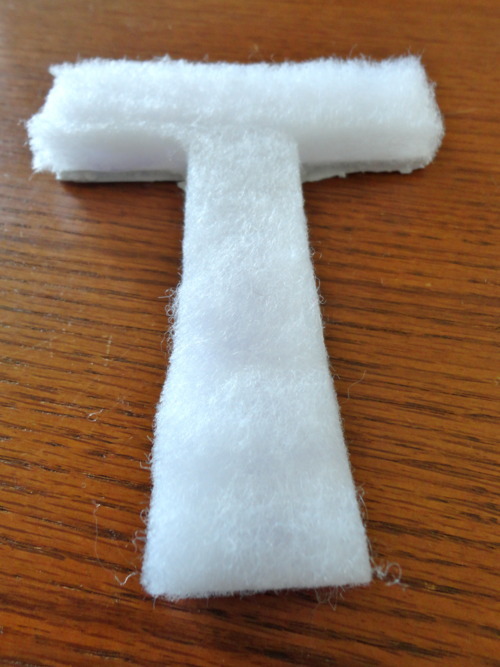
... attach the batting to the foam letters.
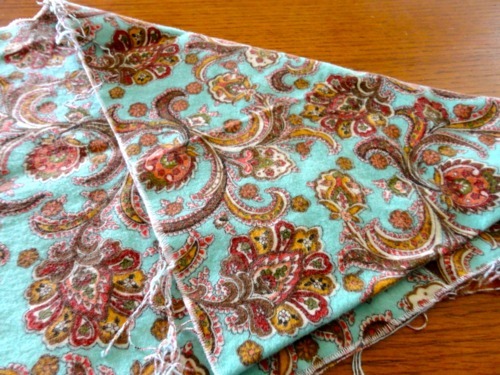
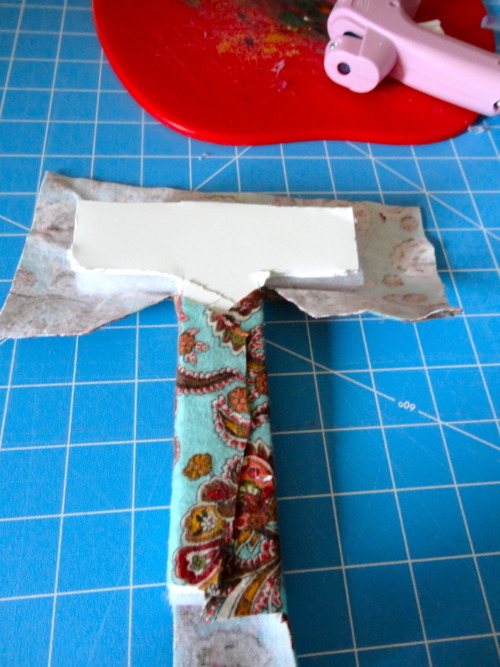
4. Using your scrap fabric (patterns look best!)...
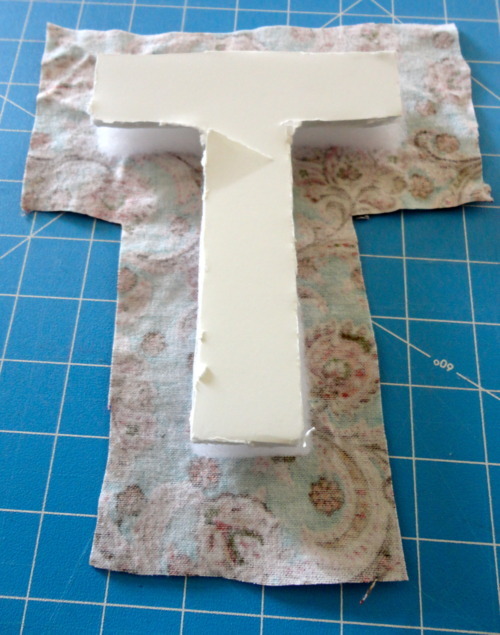
... cut out a shape slightly larger than your letter. Place your letter BATTING-SIDE DOWN on top of the fabric (wrong side up).
I knew exactly what I'd use them for, too -- to personalize a whiteboard for our kitchen.
Keep reading below for a photo tutorial. (Thanks for the inspiration A Girl and a Glue Gun!)
You will need:
- Foam board (extra thick poster board)
- Scrap batting
- Scrap fabric
- Knife and mat
- Glue stick
- Hot glue gun
1. Using a knife and mat, cut out your letters from the foam board. I decided to do Tyson and my initials, but you could do as many letters as you want! I simply free-handed the letters with pencil, but you could also print out letters and trace.
2. Holding the foam letters on top of the batting, cut out matching letter shapes.
3. Using a glue stick...
... attach the batting to the foam letters.
4. Using your scrap fabric (patterns look best!)...
... cut out a shape slightly larger than your letter. Place your letter BATTING-SIDE DOWN on top of the fabric (wrong side up).
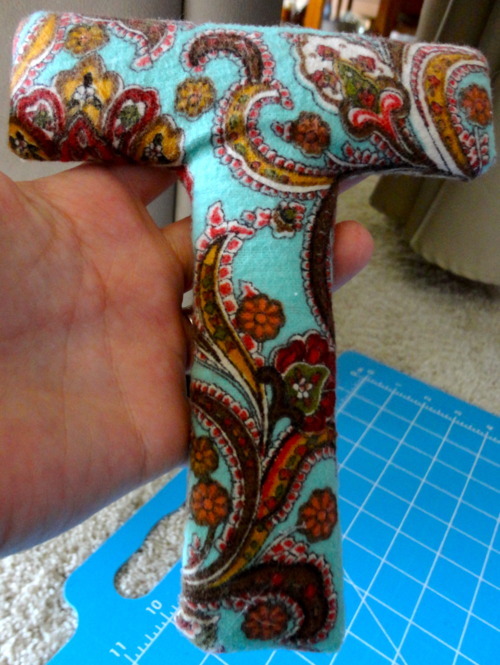
5. Using a hot glue gun, wrap the letter up like a present and secure with hot glue. I trimmed extra fabric with my scissors as I went.
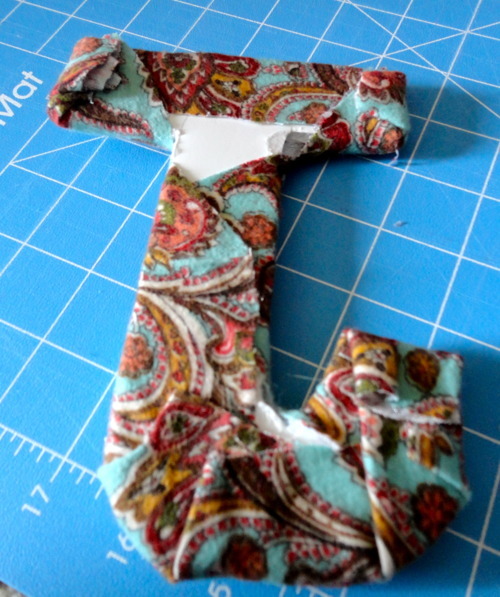
When doing a curved part, just keep folding and gluing until it's tight.
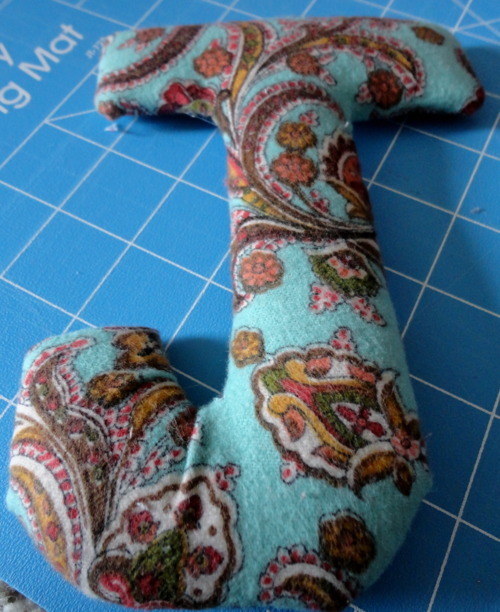
Looks good, huh?! You could do ANYTHING with the letters (hang on a door or a wall, place on top of a present, etc.), but I decided to hot-glue them to our whiteboard to make it extra special.

Have fun! The possibilities are endless!
No comments:
Post a Comment
Thanks for stopping by!